

One of my favorite craft supplies out there is washi tape, also known at paper tape. I get mine from various places but you can get them at target, Walmart, Michaels, most craft stores, Downtown Tape, or I get mine sometimes on Pick You Plum for really good deals. I was super excited when I got this simple idea and it only took a few supplies and very little time but the results were just what I wanted.
Before I go on with the tutorial make sure to go and enter the Build Your Blog Conference ticket giveaway I have going on HERE.
Supplies I used:

-Washi Tape. I used six different rolls of red, white and pink. (These ones are from target and Pick You Plum)
- Bakers twine (I got mine through Pick You Plum for only $5 for that huge roll, but you can also get some at craft stores or Orson Gygi)
-Scissors
-Clear tape for hanging
What I did:

1. Pick which washi tape rolls you would like to use and put them in the color or pattern order that you want them to go in. I did two different strands and did three different types on each strand and put them in the order that I showed above on the supplies I used picture. Get creative this is where you can do whatever colors, patterns, or order you want. That is why these can be used for anything and any occupation because you can personalize it. I have even seen them on top of birthday cakes which is super adorable.

2. Next you will roll it out and tear off the amount that you want to use. This depend on how long you want each flag to be, but I just eyeballed it and tore off the amount that I just felt like looked right

3. Then you find the place on your twine you want your flag to be and you will just stick it to the twine and fold it over itself so that the two sticky sides are touching each other.

Then it will look like this. It doesn't have to be even because you are going to cut it

I did this using all the different types of washi tape I picked out in the pattern I wanted and just spaced them what looked right to me. Again I didn't measure I just eyeballed it.

4. Once you have all your tape on across the twine you are going to start cutting them so they look like little flags. This is super easy you just cut out a little triangle on the bottom of each piece of washi tape attached. so it looks like above. And you will just continue doing this to all of them until your bunting looks like the picture below.


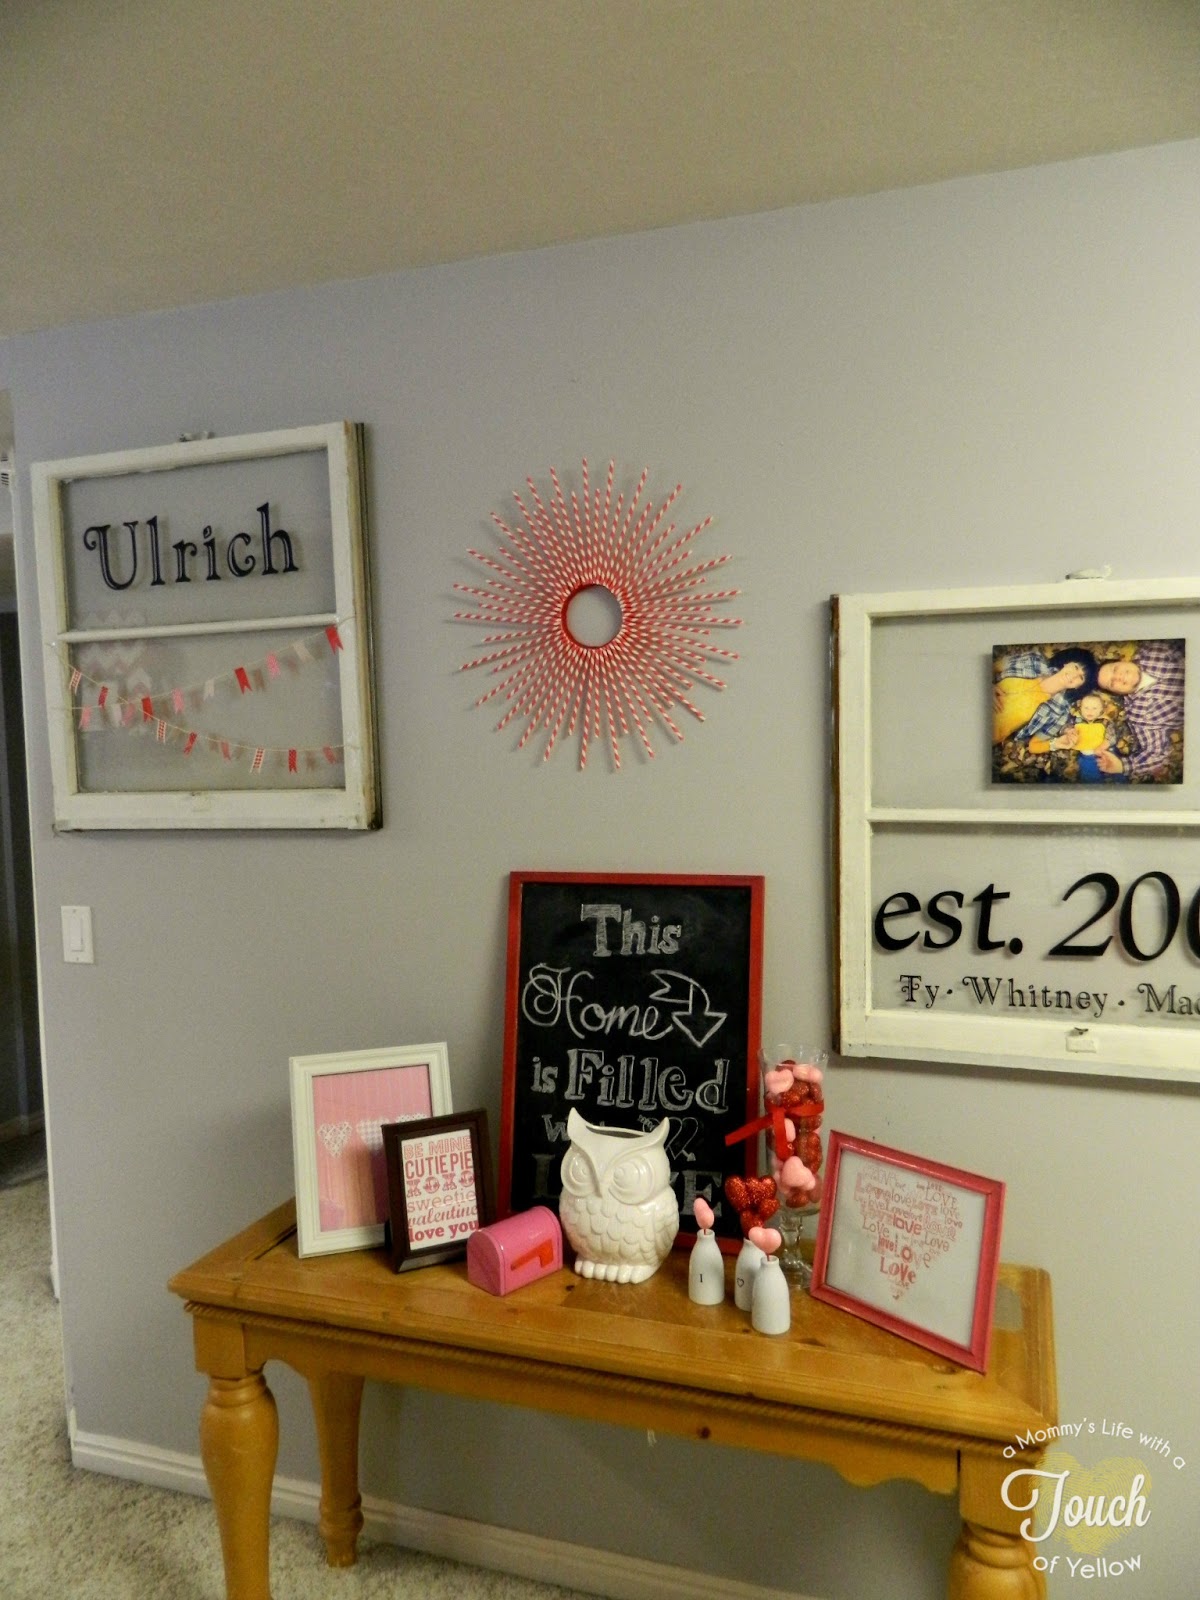
5. Then you will take your clear tape and put it up where ever you are wanting to display it. I put mine on an awesome antique window I have up on my wall and I over lapped the two strands and put them on an angle. You can do whatever you want when it come to displaying your bunting. You can put it on a picture frame, on a wreath, on a door, or just up on the wall. Get creative and personalize it to you and your home.

I put this on instagram and facebook (Make sure to come and like and follow me using the links) and a lot of people have seen it in my home and I have gotten so many compliments on it. Which I love because I love it but it was also so simple, fast and fun to make. It took a total of probably 15 minutes to make and I just did it while the little ones were sleeping, which of course is my favorite time to get some creating done. Am I right moms?! :)
And there you have another fast, easy and fun V-day craft. Make sure to come and check out some of my other Valentine projects by going to the following links: Wooden {LOVE} Letters, Easy Paper Straw Wreath, Chevron Board Backdrop and more to come this week.
Don't forget to enter the Build Your Blog Conference ticket giveaway I have going on HERE
My V-day Washi Tape Bunting is linked up HERE
Thank you for all of your support, for reading and following
Happy Monday and HAPPY CRAFTING!


No comments:
Post a Comment