
These are the supplies you will need:
-Wreath form (I got mine at Michaels for like $3)
-Burlap (I got 2 yards and that was too much so I am sure 1 and 1/2 would be enough. I got this for $2.99 a yard)
-Assorted fabric (I used three different St. Patrick's day or green fabric for mine)
-Buttons (a lot of people just have these laying around but since I am just starting out and still needing to stock up I just got a package at Michaels that had green, brown and tan...which was prefect for mine)
-Hot glue gun
-Something to trace circles from (I used a glass that was 3 in on top and 2 inches on bottom it was perfect for the size circles I wanted)
-Marker
-Scissors
This is what I did:

-I made 25 2 inch and 25 3 inch circles with each of the fabrics and burlap (I had some leftover...but better too much than not enough you could probably get away with 15 of each size on each fabric)


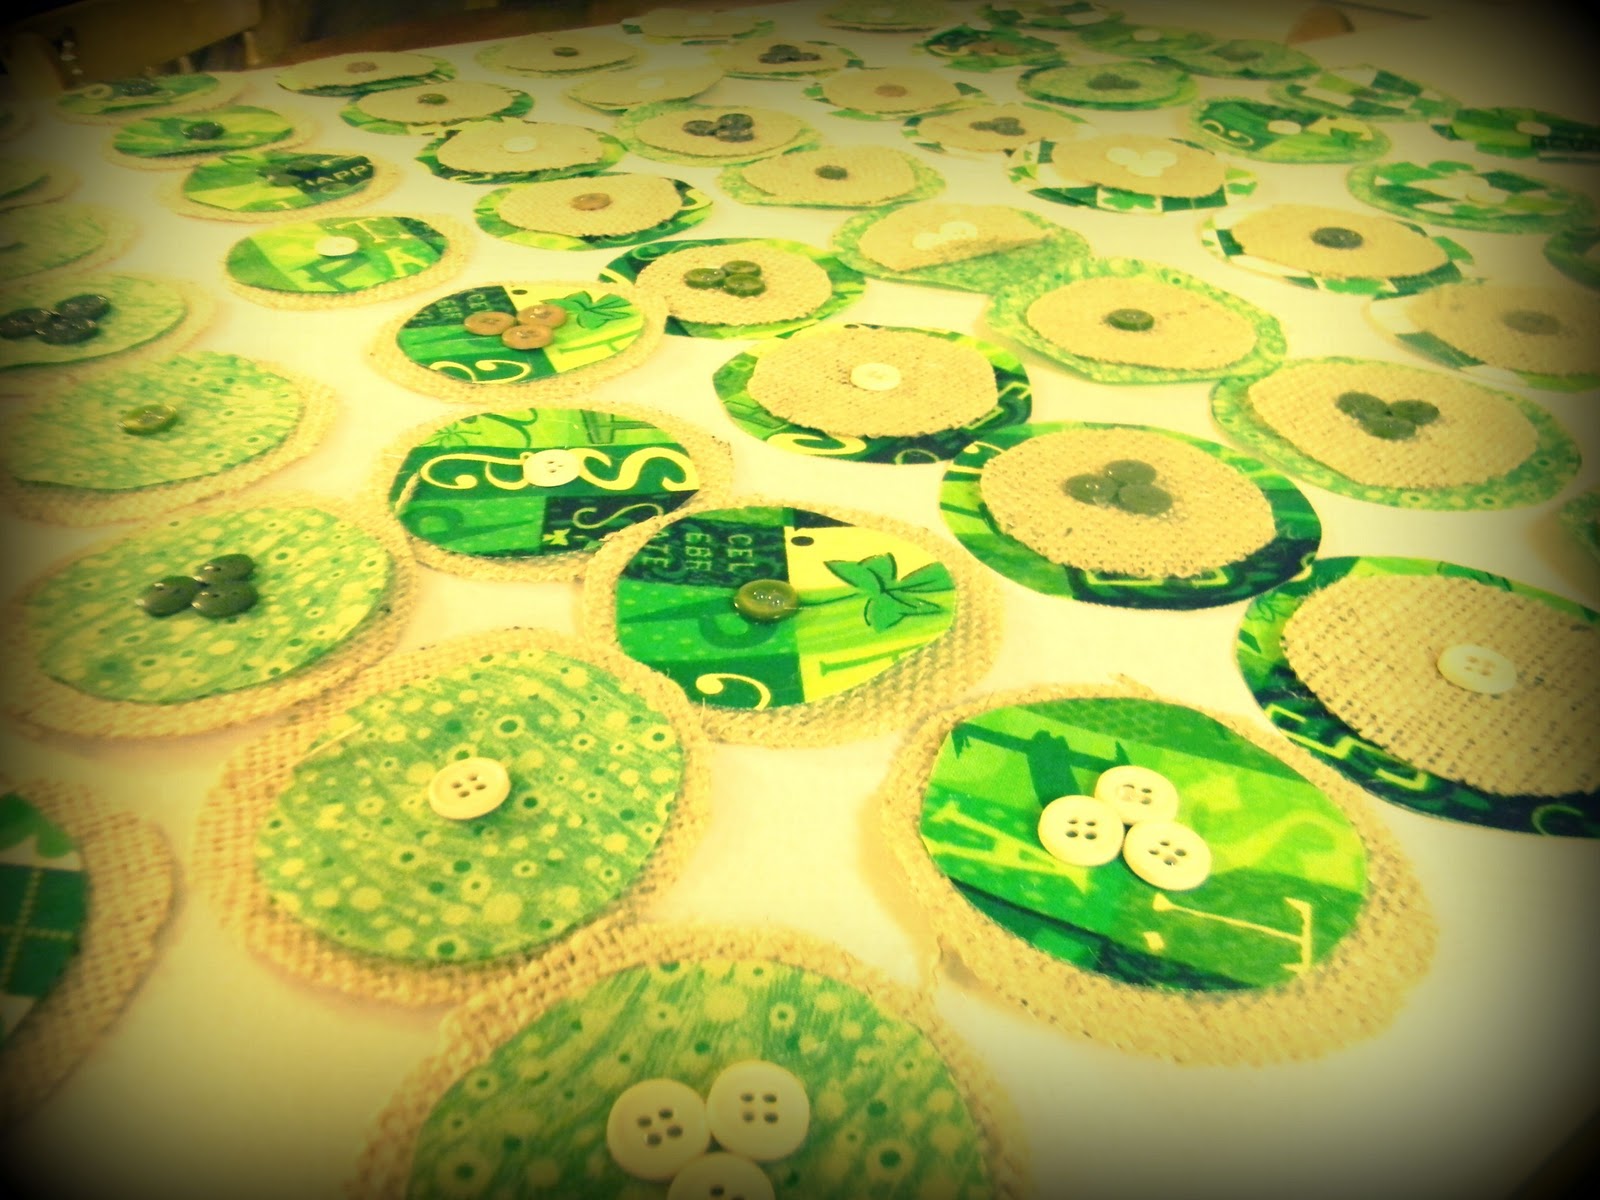
-Then I laid all of my circle flowers on my work surface so that I could see them all

-Wrap the burlap strips around the wreath form gluing it at the beginning and at the end to secure it. Make sure to over lap the burlap and pull it tight so the wreath is completely covered.

-I didn't really have a pattern to mine I just made sure like ones weren't right next to each other
-I like it being a bit more random


This was such a fun project for me and kept me busy. It was super easy but tracing and cutting out the circles was a bit time consuming. I just traced and cut while me and hubby watched some of our fav TV shows together after little M went to bed. I like to do something while I am watching TV anyway so this was perfect.
St. Patrick's decor is not the only projects that I have been up to lately. I am also working on Little M's nursery. Yeah I know he is ten months old but since we moved after he was only 2 months old I couldn't decorate before he was born because we were living out of boxes and then he was born and life was turned up side down. Now that I am getting used to the whole multitasking mom thing my goal is to finish all the projects for his room before his first birthday.

My burlap wreath is linked up to:


Love your St. Patty's version of the burlap wreath. So cute. Looks like you're up to something fun with that tree. Nice to meet you & thanks for the bloggy visit and comment love :)
ReplyDeleteSOoo adorable! Great idea!
ReplyDeleteWow! That's an amazing wreath, love all the little touches. :-) Thanks for linking up!
ReplyDeleteSuper cute! You're right; that would be perfect for the 4th of July too! I'm excited to see the completion of the "sneak peek" project!
ReplyDeleteYou are too cute!
ReplyDeleteWhat a fabulous idea!!!! I want to make one now!
...Funny you want to come see my house because I am in a "decorating rut" I think my house looks terrible right now!!
Super cute! I love the fabric you chose!
ReplyDeleteSo pretty!! I can't imagine how patient you must be to have cut all those circles out. It looks wonderful. :)
ReplyDeleteThanks so much for linking up to my Weekend Bloggy Reading party. Hope you'll visit me at Serenity Now again soon. :)
I know I have already commented but I wanted to make sure you knew how much I was touched by your comment! Thank you for your kind, sweet words.
ReplyDeleteI love this. So simple and versatile. It is now on my to do list.
ReplyDelete