

My little Maddux is really into superheros lately so we thought what a perfect theme for his 3rd birthday party. You can read more about his party HERE. We took him and a few of his friends to a trampoline park {because everyone knows that is how superheros train to fly}, had cake and ice cream, presents, complete with superhero decor and plates. It was all really cute in my head but the night before the party I had a thought, I wanted to make all the kids at the party their own superhero capes to wear at the trampoline park and then take home as party favors. What a genius plan, and I would be the coolest toddler mom out there, so at about 10pm the night before I wiped out about 7 of these bad boys.
They were easy peasy, fast, super adorable, cheap, the kids loved them and it was an all around success in the crafting and awesome mom award departments. I was so excited at how they turned out that I just had to share my tutorial with you. PIN this you will want this for latter. And yes even the adorable little girl who was there loved her white, pink and purple super A cape, so these are not just for the Boys club.
Did I mention that these were no sew! Booya! Anyone and I mean anyone could make these. Eeek so excited.
{Supplies I used}

-Felt {18x27 inches for each cape} color of choice I used Black and White for the bases
-Cutting mat
-Rottery cutter and fabric scissors and paper scissors
-measuring tape
-chalk
-velcro
-pins
-Spray adhesive
-computer, printer and paper
{What I did}

The very first thing I did was lay out my felt and cut out the base rectangle of the cape I did some in black and some white. The rectangle should be cut 18 inches by 27 inches.

Use your rottery cutter and mat to ensure a straight clean cut.

Once your base is cut you are going to fold it in half longways {hot dog style-Do you all remember that from the elementary days? anyone? anyone? Bueller?} making sure that the folded end it on the right and the loose ends are on the left. Folding it in half before we, measure, trace and cut will ensure that both sides will be even.

Now we are ready for the measuring, tracing and cutting.
1. First you are going to go to your long side that is folded. So the top right corner. Measure down 1 and 1/2 inches and make a mark or dot with your chalk. Then you are going to go down 2.5 inches from the first mark and make another line and then again 2.5 inches and make another line. So you have 3 marks now. To get that last mark there in no mans land on the left you are going to go to your middle mark and then measure over three inches to the left and make your fourth mark. Then yours will look like the picture #1
2. You are going to simply connect the dots to make your half circle, which is what goes around the neck area.
3. Next you are going to go to the top right corner again and measure 1 1/2 inches to the left and make a line from there to the top to the circle like shown in picture #3.
4. The last line and measurement we need to make is the shape of the cape at the top that goes on the shoulder blades to do this you are going to go to the top left corner now and measure down 10.5 inches and make a chalk mark. Then you are going to draw a curved line from your mark you just made to the top right corner where you made the on step #3. See picture #4 for reference. Did that make sense?

Ok now all your measuring and tracing is complete it is time to cut. Take out your fabric scissors and simply cut out all your lines, and the half circle. so it looks like the picture below.


Unfold it and your base is done now all that is left is decorating it and securing it.


Pin it to the color of felt you want your shield to be and cut it out using your fabric scissors.

Tada...easy as pie. Can you see it coming together now?

Now to make this as simple as possible and no sew, you are going to use spray adhesive to adhere your shield, initial and velcro. Again this makes it sooo easy it should be illegal.

Spray it onto the back of the shield and place it onto your cape right in the middle and up at the top. Then you are going to apply a little pressure to make sure it is all secure and then let it dry.
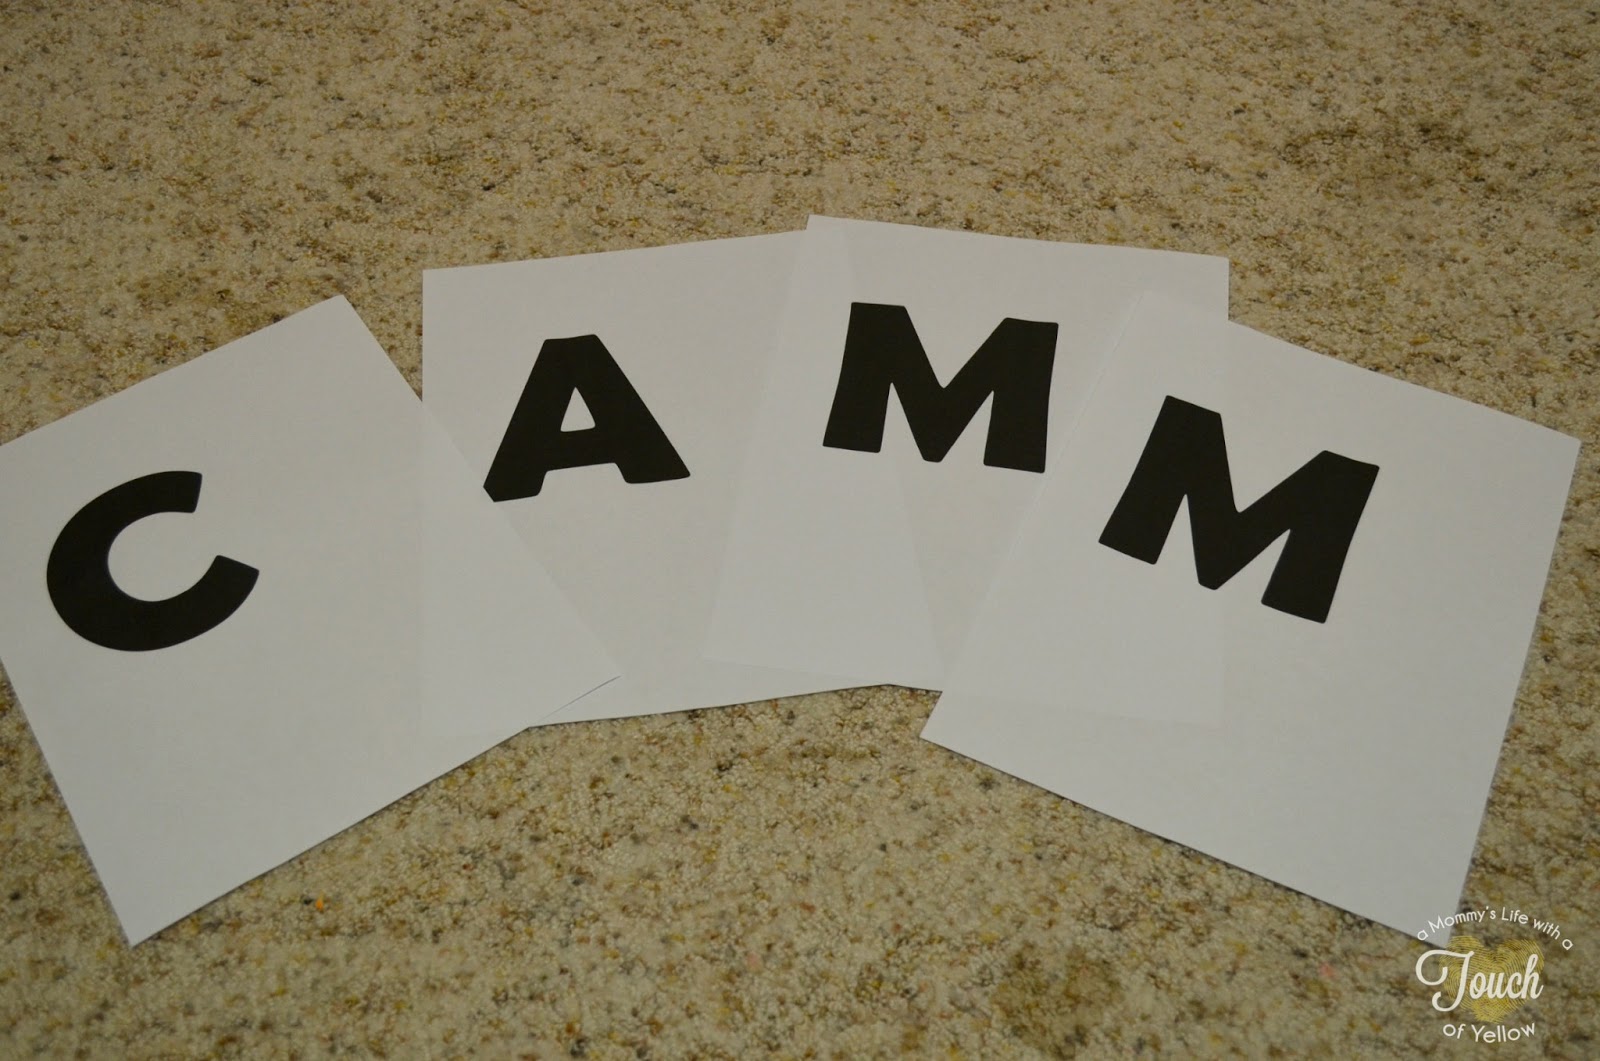
While the shield is drying you are going to move onto the initial and this is where you make it personal to each child and this is going to be your child's favorite part...at least it was my Maddux's favorite he thought it was so cool that M was for Maddux and he was super Maddux. Oh the cuteness of a three year old. I simply got onto a word document picked a font and size I like for the letter and printed it out. I used the font Berlin Sans FB Demi and size 400. This was the perfect size to fit into the shield and I loved the font.

Cut the letter out {This will be your template}, pin it onto the felt color you want the letter to be, and then cut it out using your fabric scissors.

Then again you are going to take your spray adhesive and spray the back of your letter and adhere it to the shield applying a little pressure. Let it dry.


Now while that is drying you are going to do your last step: take your velcro cut each end into two small stripes {both the same size}, spray them with the adhesive and apply them to the top of the cape. Make sure you do one side facing in and one facing out so that they clasp together right and secure the cap on your child.

Wasn't that so easy and fast I think I made one in about 20 minutes and then when I made all the other ones they were even faster because I didn't have to measure and trace all I did was use the first cape I made as a template and cut it out from that.

I whipped out 6 more of these in no time and it is safe to say that the kids LOVED them.

Once we brought out


Isn't he just the cutest superhero you have ever seen?! Ready to save the world.


Remember to PIN this awesome tutorial!!! Go make some either just one or two for your little ones or a whole bunch for a play date or party. They are affordable and so worth the small amount of time it takes to make them when you see how much your kids will love them.
Linked up HERE
Thank you for your support, for reading and for following
Make sure to check out my other social media sites below and follow along
{Links below}


This is so awesome! And I love the CTR shield :) I will pin this to make for my nephews and for our little guy in a few weeks.
ReplyDelete